
Roof leaks require immediate attention to prevent water damage and maintain your home's structural integrity. Regular, meticulous roofing inspections are crucial for identifying potential weak spots like valleys, skylights, and points where the roof meets other structures. When a leak occurs, it's important to pinpoint the exact entry point by looking for stains or drips inside and visually inspecting the roof externally, using tools like binoculars or carefully navigating the roof surface. Safety is paramount during this process; always wear appropriate protective gear and use stable ladders with assistance when needed. Minor repairs can involve applying sealant over the leak, while more extensive damage may require replacing shingles and ensuring proper overlap for effective sealing. After repairing the leak, apply roofing cement or sealant as a finishing layer to protect the area. It's also advisable to conduct post-severe weather inspections and consult professional roofing services if you encounter complex issues or unsafe conditions. Remember, timely and proper maintenance through regular roofing inspections can significantly reduce leak risks, prolong your roof's lifespan, and ensure its performance against environmental challenges.
When a sudden downpour turns your attic into an aquarium, or water stains cascade across your ceiling, it’s time to address those pesky roof leaks. Our comprehensive guide, “Fixing Roof Leaks 24/7,” equips you with the knowledge to swiftly pinpoint and fix these issues, regardless of their origin. Dive into the intricacies of a professional roofing inspection through our detailed steps, ensuring your safety every step of the way. Whether dawn or dusk, day or night, this guide stands as your vigilant guardian against the relentless elements, turning the tide on water woes and fortifying your home’s integrity.
- Identifying Common Sources of Roof Leaks
- Step-by-Step DIY Guide for Repairing Roof Leaks
- Safety Precautions and Best Practices During Roofing Inspection and Repairs
Identifying Common Sources of Roof Leaks
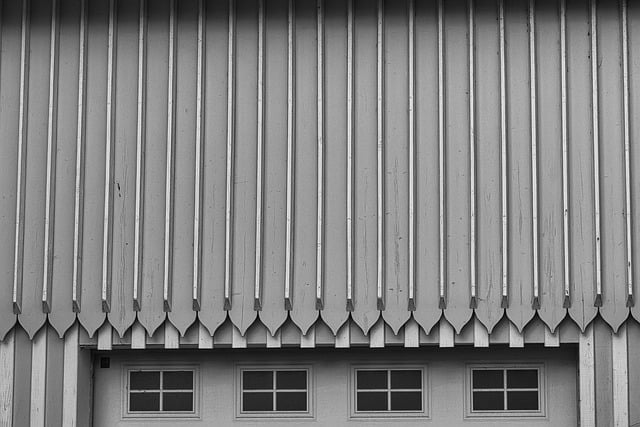
When a leak presents itself in your home, it can be a source of significant frustration and concern for the structural integrity of your residence. Identifying common sources of roof leaks is the first step towards a permanent solution. Typically, roofing inspection should begin at the point where water enters the dwelling. Look for stains or drips on the ceiling that may indicate an opening somewhere in the roof’s structure. These can be the result of various factors, including but not limited to: damaged shingles, worn flashing around chimneys or vents, compromised sealant joints, and clogged gutters that cause water to back up under the shingles. Conducting regular roofing inspections is crucial for early detection and prevention of leaks. These inspections should be thorough, examining every potential weak point, such as valleys where two roof planes meet, skylights, and any intersections with other structures like vent pipes or HVAC systems. By paying close attention to these areas during your inspection and addressing issues promptly, you can effectively mitigate the risk of leaks and extend the life of your roof. It’s advisable to perform these checks regularly, especially after periods of severe weather that may cause damage, and to consider professional assistance for a comprehensive evaluation if you’re unsure about the extent of the issue or how to address it safely and effectively.
Step-by-Step DIY Guide for Repairing Roof Leaks
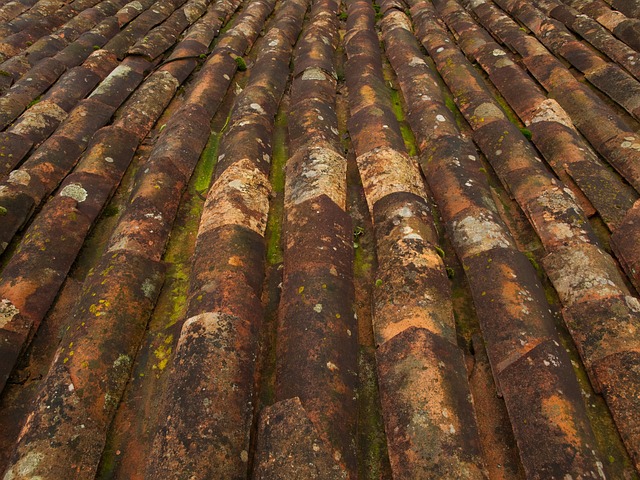
Addressing a roof leak promptly is crucial for protecting your home from water damage. If you notice a leak, it’s advisable to act immediately. This DIY guide provides a step-by-step approach to repairing roof leaks effectively. Begin by conducting a thorough roofing inspection to locate the source of the leak. Often, leaks appear in one part of your home but originate from another. Use binoculars or carefully walk on the roof, if accessible and safe, to pinpoint the exact area where water is entering. Look for damaged shingles, cracked flashing, or any other compromised areas.
Once you’ve identified the leak’s entry point, prepare the necessary tools and materials. These typically include a ladder, safety harness and anchor, a trowel or putty knife, roofing cement or sealant, replacement shingles if needed, and a hose to simulate rain. If the leak is minor and confined to a small area, you may be able to apply a sealant directly over the affected spot. However, if the leak is larger or the shingles are damaged, remove the damaged shingle and replace it with a new one, ensuring that each shingle overlaps the next to maintain proper sealing. Apply the roofing cement or sealant over the repaired area and any surrounding spots where you suspect water might seep in. Allow the repair to dry completely before testing for leaks by gently spraying water over the area. If no leak is present, your repair is successful. Always remember to prioritize safety during this process, especially when working at heights or using tools. Regular roofing inspections can prevent minor issues from becoming major problems, so consider establishing a routine to keep your roof in top condition.
Safety Precautions and Best Practices During Roofing Inspection and Repairs
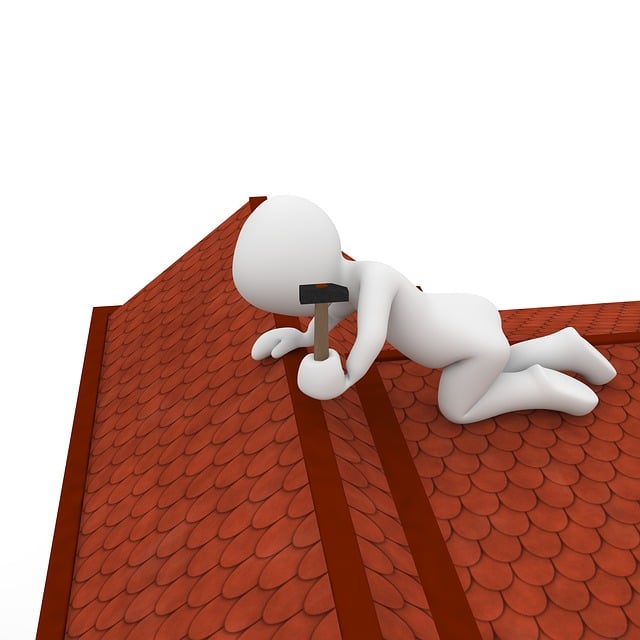
When addressing roof leaks, safety is paramount. Before embarking on a roofing inspection or repair, ensure you have sturdy footwear with non-slip soles and protective gloves to handle tools and materials. Inspect the roof structure to identify any weak spots or damaged areas that may pose a risk of collapse or slipping. Use a harness and safety lines if working on steep or unstable slopes, and never attempt to repair a roof during extreme weather conditions like high winds or storms. It’s crucial to have a reliable ladder that is placed on a firm base, and someone to hold it while you ascend.
During the actual inspection, carefully look for signs of wear, such as cracked caulk or worn flashing. Pay attention to the condition of the shingles or roofing material, checking for curling, buckling, or missing pieces. If you notice any damaged shingles, remove them with a pry bar, being mindful not to further damage surrounding shingles. After identifying the leak’s source, apply a high-quality sealant over the affected area to temporarily stop the leak. For long-term repairs, consider removing a larger section of the roofing material to properly address the issue and prevent future leaks. Always dispose of old materials responsibly, and clean up your workspace to avoid accidents or further damage. Remember to take regular breaks to avoid fatigue, which can lead to mishaps on the roof. Regular maintenance and timely repairs can extend the life of your roof and ensure your home remains safe and dry.
When confronted with a roof leak, timely and effective repair is paramount. This guide empowers homeowners with the knowledge and steps necessary to identify common sources of such leaks and address them safely and efficiently. By following our DIY guide and adhering to safety precautions outlined in the section on roofing inspection, you can resolve most issues without professional assistance. Remember, a proactive approach to maintenance can prevent future leaks, ensuring your home remains dry and secure. With these tools at your disposal, you’re well-equipped to tackle any drip or deluge that the elements might challenge you with.